

How To Edit Essential Graphics Template Font
This site is reader-supported. We use affiliate links to support our expenses. Learn more than
(Final updated on February 1st, 2022)
Wondering how to add and edit text in Premiere Pro? Yous have come up to the right place!
In this postal service, we will explain how to edit text in Premiere Pro. We become over how to create a title graphic, animating your text, choosing fonts, and more. Read on to learn how to make captivating captions and titles.
- Editing Text in Premiere Pro
- Creating a Title Graphic
- Editing the Text in Premiere Pro
- Animative the Text in Premiere Pro
- Exporting a Text Template
- Additional Resources
- Boosted Questions?
There are several ways to add text to a video project in Adobe Premiere Pro. Let's explore the dissimilar options of how to add together text and customize it for your projection.
Related: Premiere Pro vs Premiere Rush | Which I To Choice? (2022)
Editing Text in Premiere Pro
Hither'due south the step-by-footstep procedure of editing text in Premiere Pro:
- Open the Essential Graphics Workspace.
- Go to Window > Workspaces > Graphics.
- In the Essential Graphics Panel, go to Edit > New Layer and then cull Text from the dropdown options.
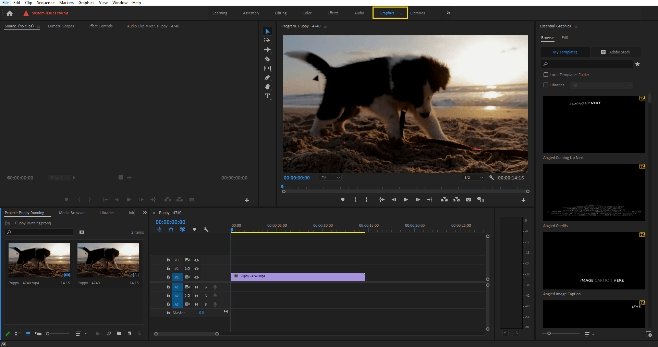
- Now you have a text layer overlaying your video. From here, y'all tin customize your text layer with precision.
Creating a Title Graphic
To work with titles and text, outset, open the Essential Graphics Workspace. This console is defended to working with graphics.
- Become to Window > Workspaces > Graphics from the main carte du jour.
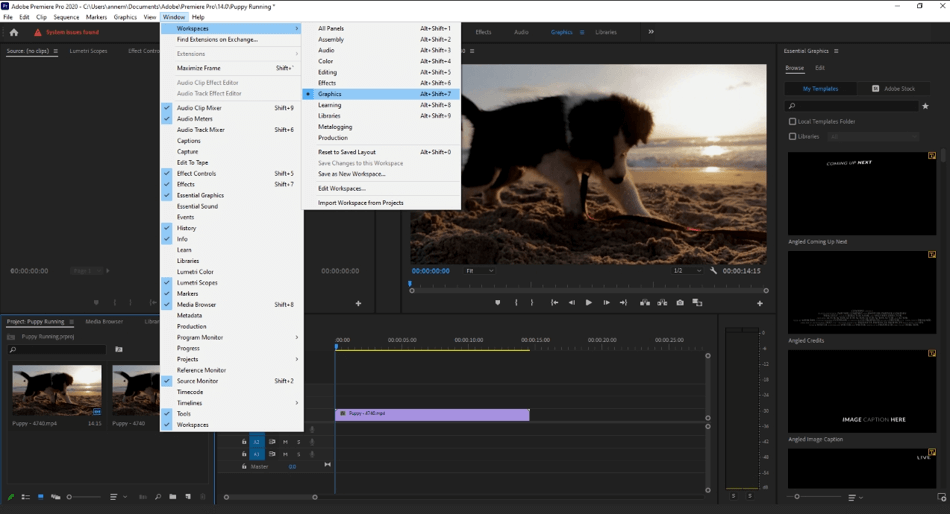
OR click Graphics from the workspace bar in the meridian panel.
From here, yous can create a championship from scratch:
- In the right-manus Essential Graphics Panel, go to Edit > New Layer (Turning Folio Icon)
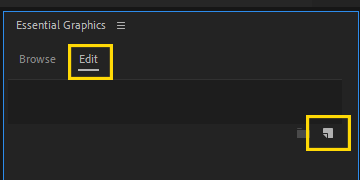
- From here, you tin select one of the dropdown options. For this lesson, permit's choose Text.
- Now you have a text layer overlaying your video. From hither, you can customize your text layer with precision.

If you want to create a title from Template:
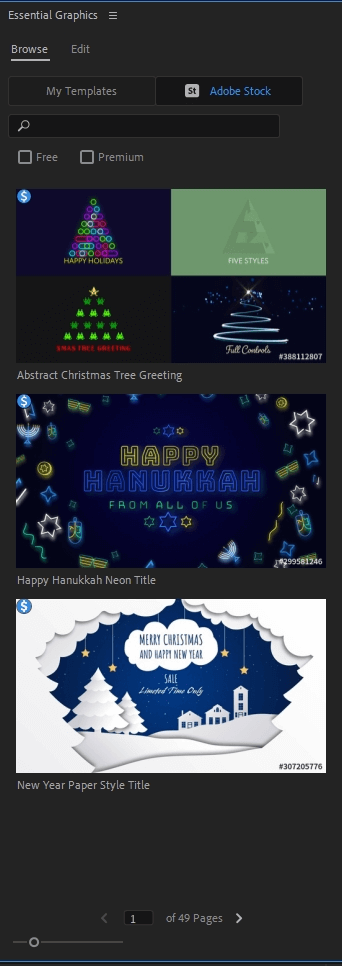
- In the right-manus Essentials Panel, select Scan.
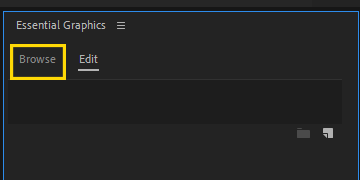
- From here, at that place are dozens of templates to choose from. Select one and drag it to your timeline.

Editing the Text in Premiere Pro
These are all of the sections inside the Essential Graphics panel. Here, I will explain the function of all the buttons.
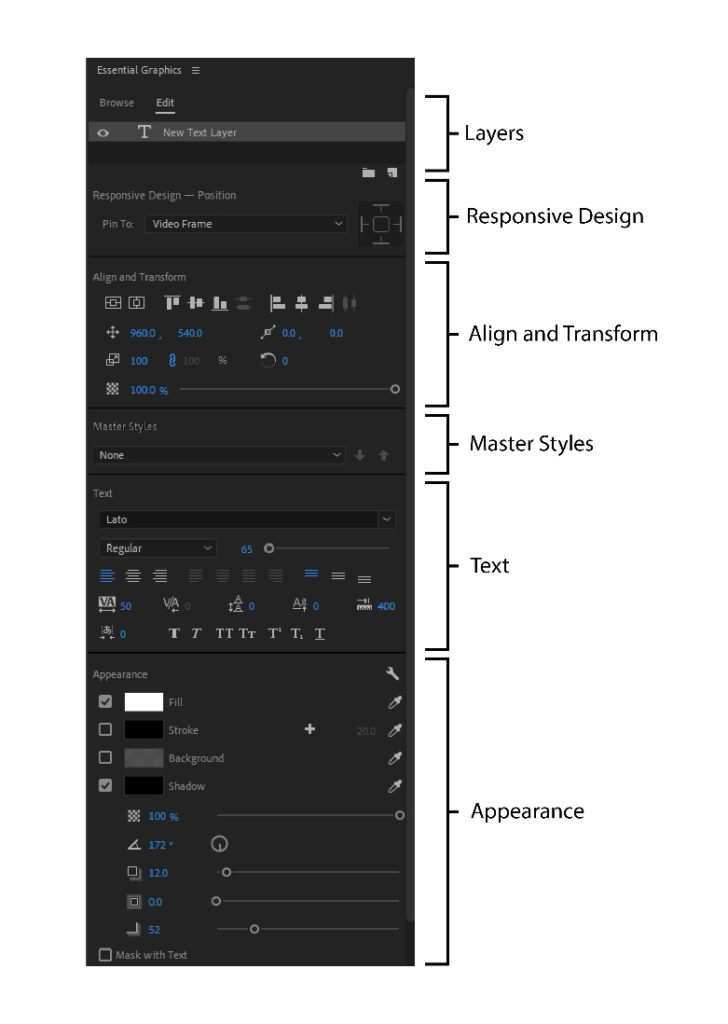
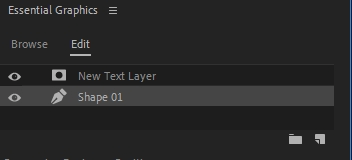
Layers
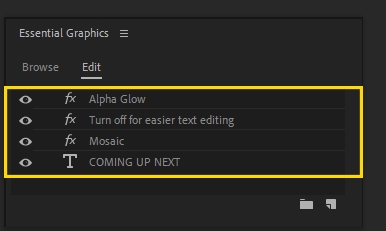
With your title block selected, the layers panel volition display the text layer and whatever effects that you lot utilise on the layer. Multiple text layers and furnishings will exist stacked here. Fx stands for text effects, T for text layers. You lot tin switch the club of the layers, duplicate, delete, and organize the layers in this panel.
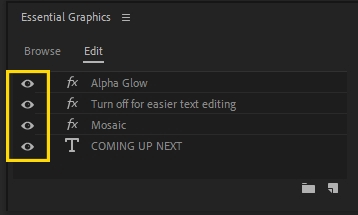
Click the eye icon to hide/unhide the layer.
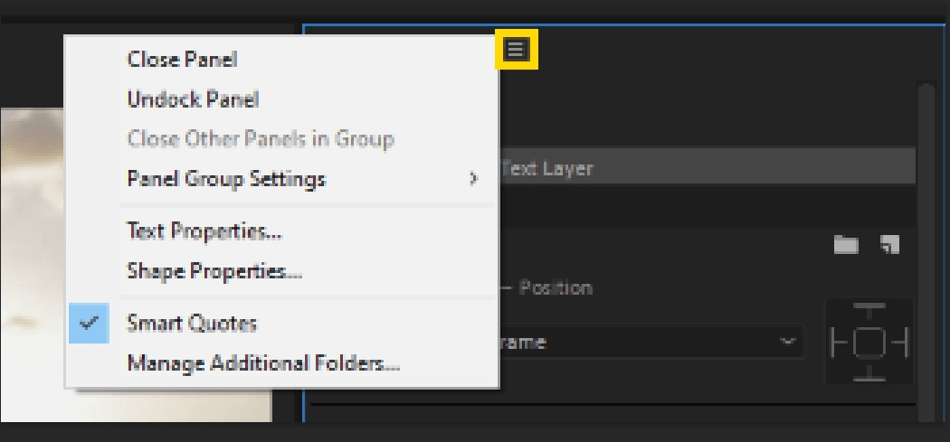
This icon allows you to manage the panel. Y'all can shut the panel, undock, shut other panels in the grouping, modify the settings, change text or shape properties, toggle on/off Smart Quotes, and manage additional folders.
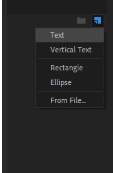
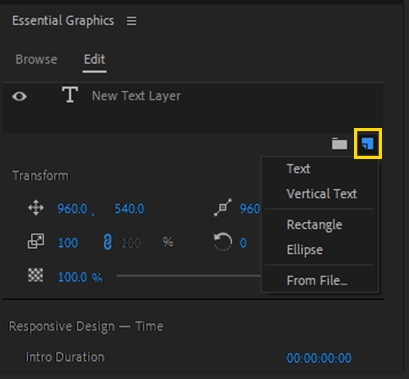
This push (a turning page icon) allows you to create a new layer. You can create text, vertical text, rectangle, ellipse, or import a file.
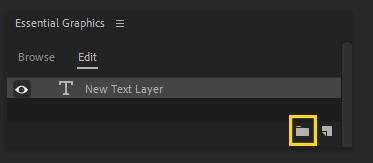
This binder icon lets y'all create a new group, organizing your layers.
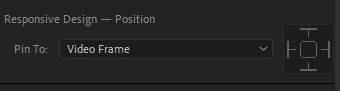
Responsive Design
The Responsive Design feature allows you to create graphics that automatically stretch to animate in the aforementioned amount of time, even if you time-stretch other parts of the project.
For case, you can protect an intro of a show and employ it for other projects. When placed in the new project, the templates can responsively retime to align with a new sequence.
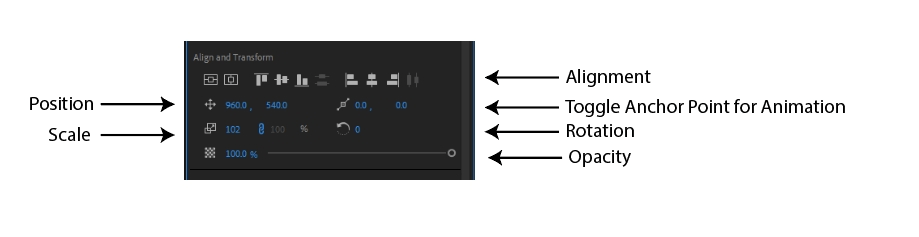
Align and Transform
In this panel, you tin can align the text to the screen, centering it, nudging information technology, and adjusting the opacity.
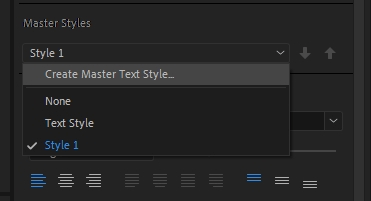
Primary Styles
Master Styles is a feature that allows you to set text presets. When you set a principal fashion, you lot save all of the Text and Advent properties of a graphic that tin can then be applied to other graphics. Master Styles is great for projects that require the same text way throughout.
Hither, yous can select your text way or create a new Master Text Mode for later use.
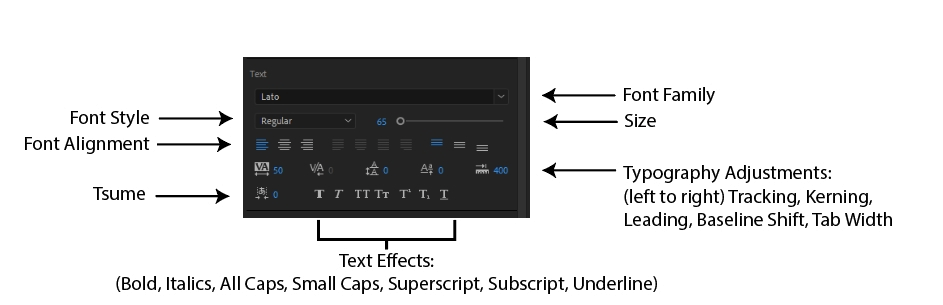
Text
The Text console gives you all of the basic text adjustments, such equally bolding, changing the font family, text alignment, and more.
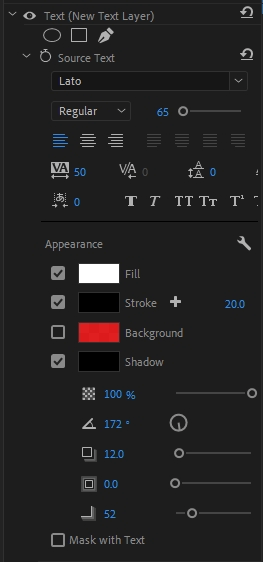
Appearance
This panel adjusts the color, fill, stroke, background, and shadow of your text.
The wrench icon adjusts graphic backdrop.
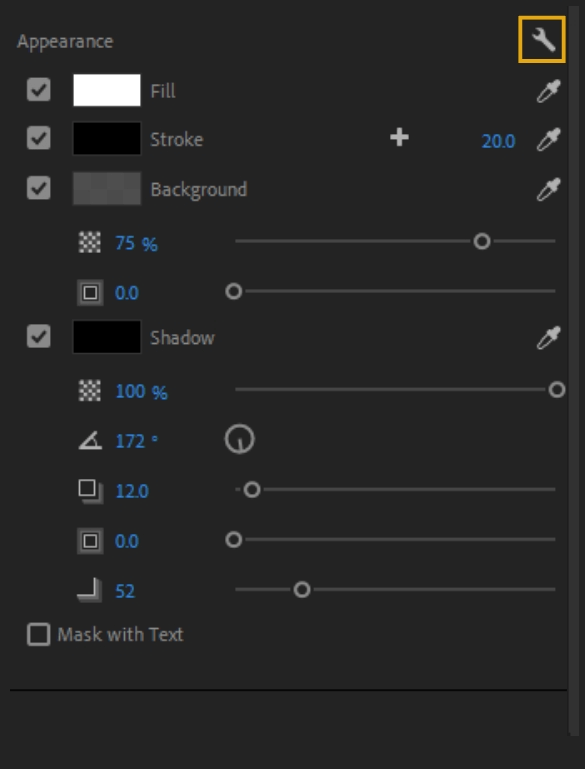
The eyedropper tool lets you select whatsoever color from the screen to use as the color for your fill, stroke, background, or shadow.
The fill up is the colour inside of an object.
A stroke is an outline around the shape of an object. You tin can add multiple strokes around the object and adjust the weight of the stroke.

The groundwork fills the box belongings the text with a color fill. You can adjust the size of the box as well every bit the opacity.

The shadow creates a shadow layer underneath the text. You lot can adjust the colour, opacity, angle, distance, size, and blur of the shadow as well.
The Mask with Text feature lets you turn the text layer into a mask, masking the layer below the text layer inside the essential graphics console.

Animative the Text in Premiere Pro
After all this, you take finished perfecting the text. Now, how practice you breathing it? Fade in/out, moving the text placement, that's where Event Control Panel comes in.
With Adobe Premiere Pro, you lot volition quickly find several ways to exercise the same action. Pick the mode that works best for you lot.
To animate the text:
- Highlight your text in the timeline past clicking on information technology. A white outline volition announced. If the Outcome Command Panel isn't open, go to Window > and cheque Effect Controls to bring it out.
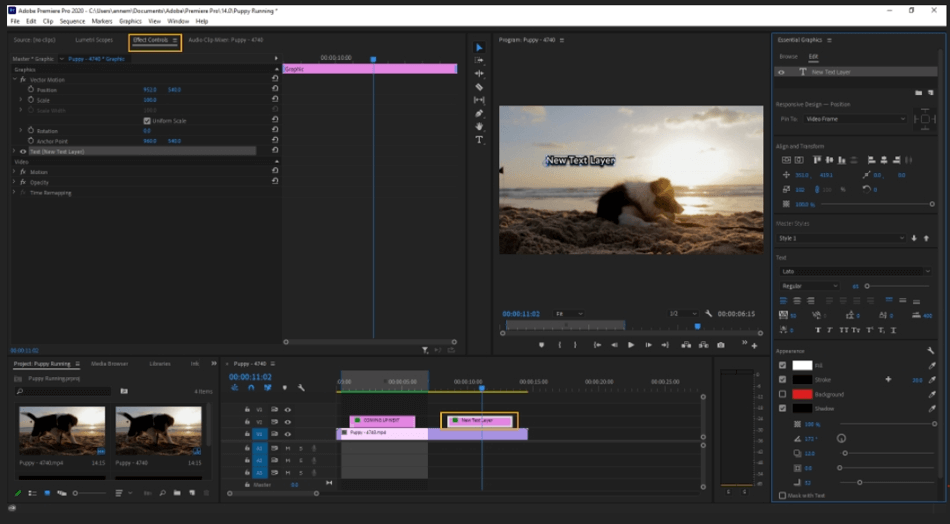
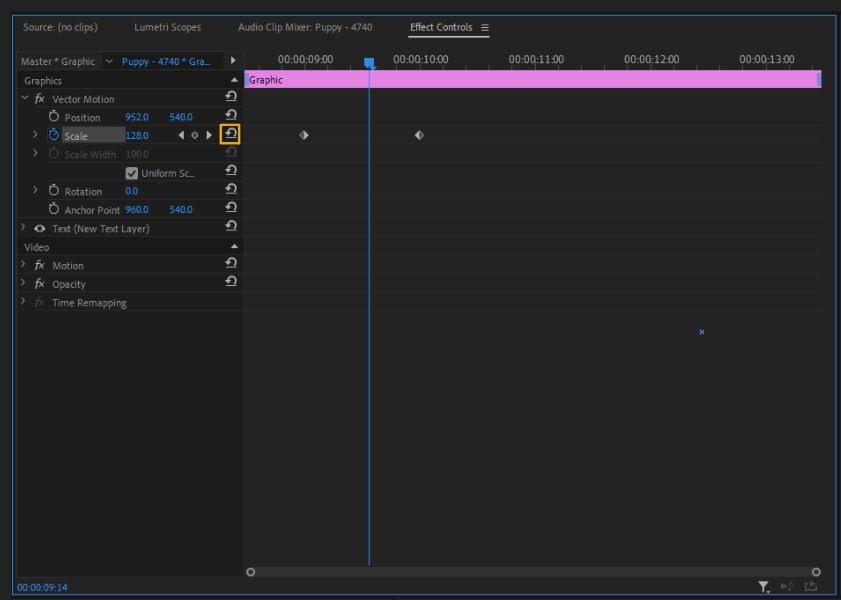
- Here in the Effects Control Panel, yous set keyframes to animate your text. Yous drag the play head to your desired time. To kickoff keyframes, you click the stopwatch icon.
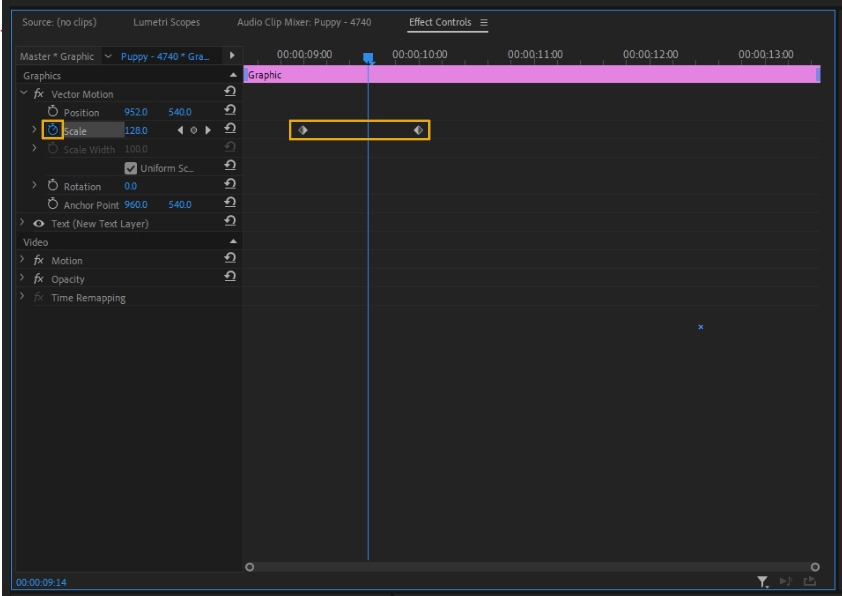
- To add another keyframe, drag the play caput to the end of the animation, change your desired value, and hit the diamond icon. Here, you tin run into I created a scale animation from nine seconds to 10 seconds, increasing the text'southward size.
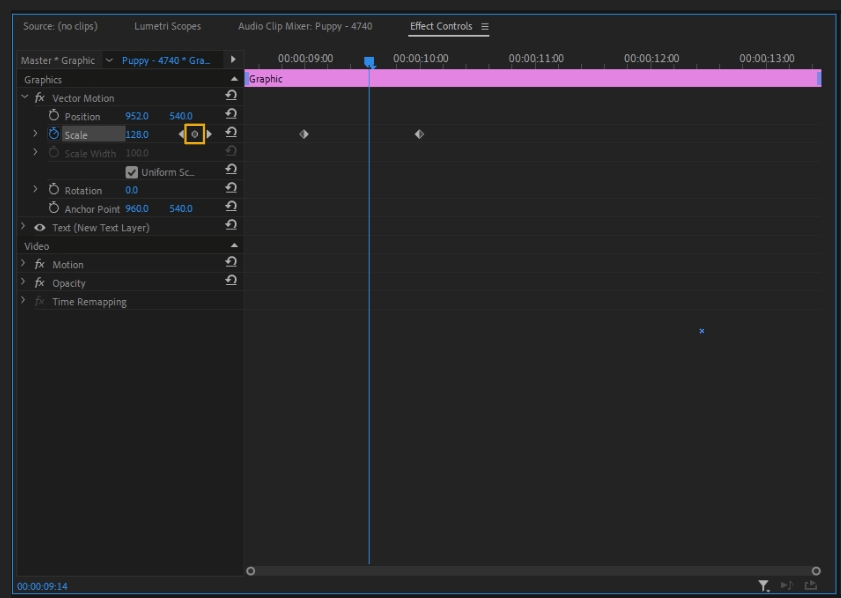
- To reset the keyframes, hitting the stopwatch. Hitting the stopwatch will clear out all of the keyframes, starting fresh.
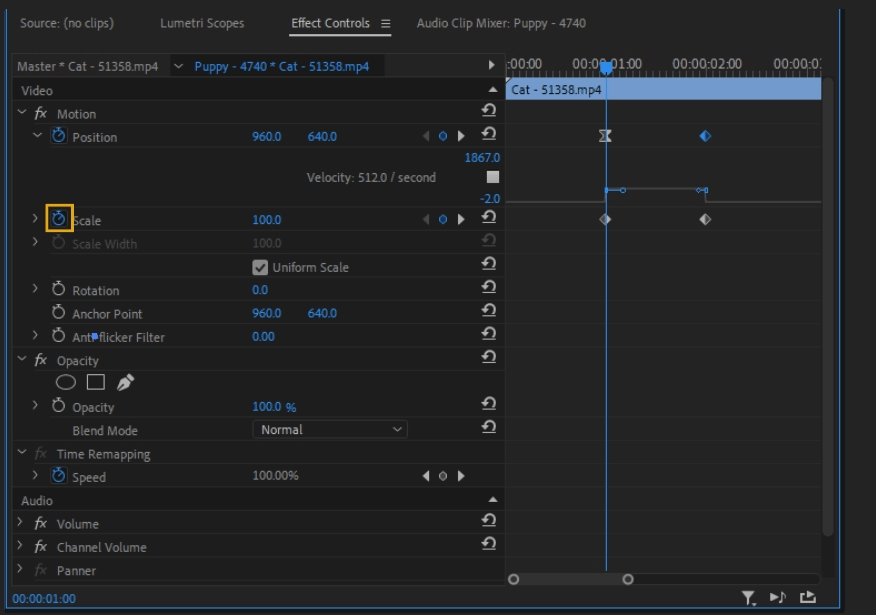
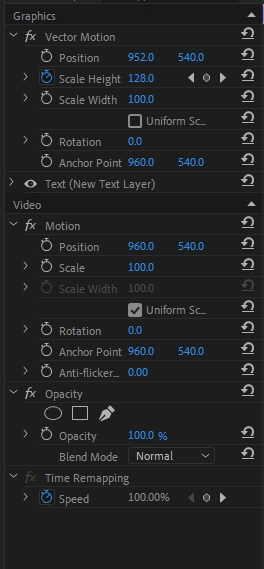
Default animation settings are Calibration, Scale Width, Position, Rotation, Anchor Point, Anti-Flicker, and Opacity. You lot can also add together additional furnishings similar Gaussian Blur, as an example, adding keyframes to breathing.
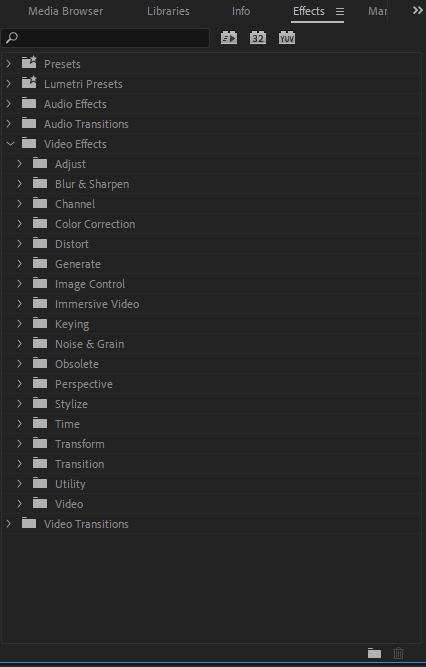
To detect and add these boosted furnishings, go to Window > Effects. Here, you will find dozens of furnishings to choose from.
You can too edit the text similarly as you lot can in the Essential Graphics panel. (Some other example of how you can do the same action within unlike parts of Premiere Pro.)
Flipping out the Text options will requite you the same Text section and Appearance department that you get in the Essential Graphics console.
To add a keyframe with the original parameters, striking the Reset icon.
Exporting a Text Template
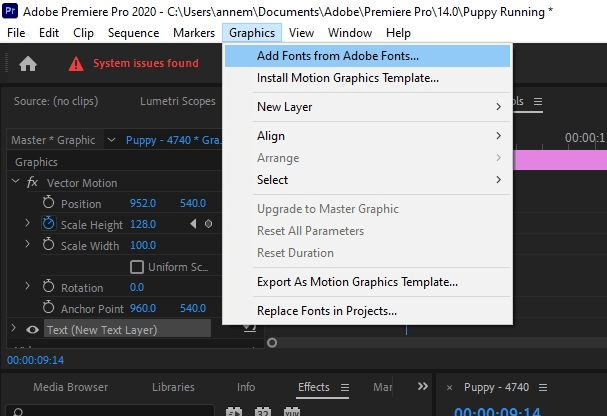
You can export a text template to use for future projects. You lot can save within the Essential Graphics library, your calculator drive, or the Creative Cloud. To do this, select the title prune and go to File > Export > Export As Motion Graphics Template OR Graphics > Export As Motion Graphics Template.
Additional Resources
Adobe has tons of resources to assistance y'all create the best projects. For editing text specifically:
Adobe Fonts
Adobe Fonts is an online database with thousands of fonts at your disposal. Downloading a new font to utilise in your work is every bit piece of cake as toggling Activate. You lot don't have to pay additionally for these fonts.
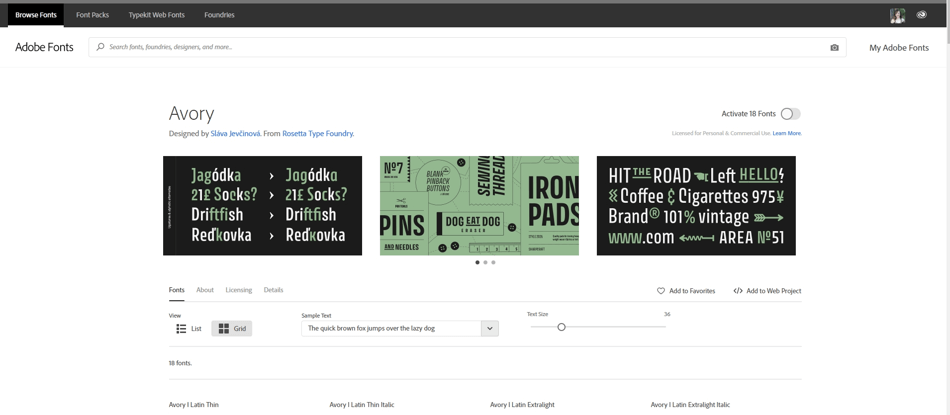
Yous can get to this spider web app by either going to fonts.adobe.com or Graphics > Add together Fonts from Adobe Fonts…, which will have you to the same browser.
The web app is dandy considering you tin can search and browse fonts in many different means.
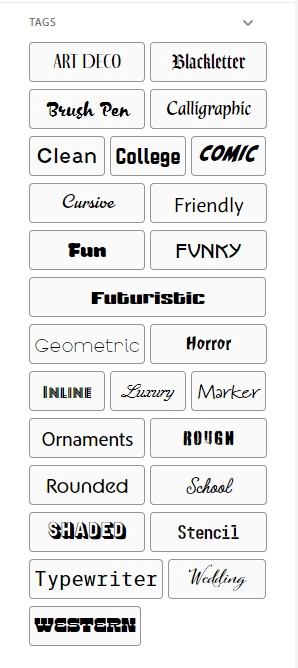
Y'all can use tags, searching for a specific style:
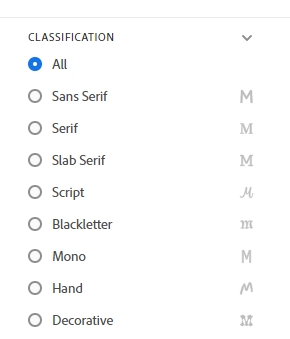
You tin also search by Classification, looking for Serif or Sans Serif fonts, etc.
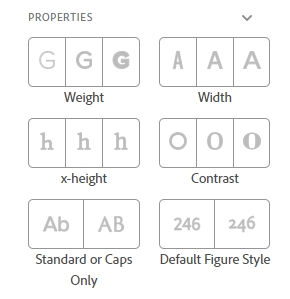
Or search by Property, sorting by weight, width, dissimilarity, and more.
Lastly, you lot can even input sample text to see how your text looks in that particular font.
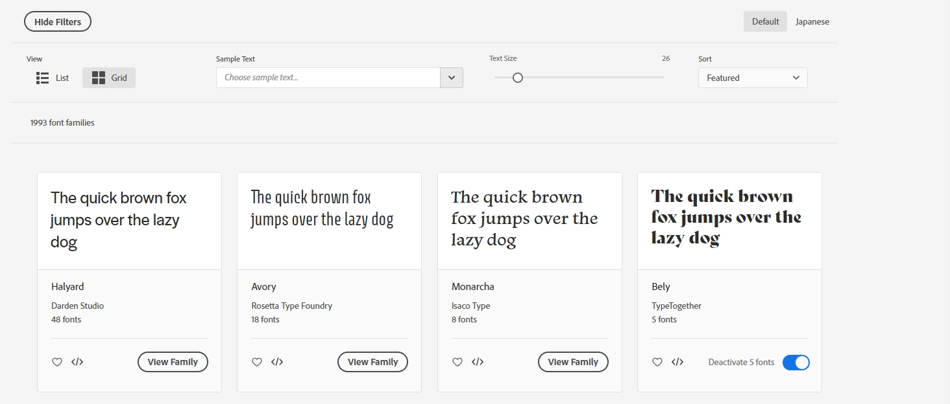
Adobe Fonts makes searching for fonts an easy attempt.
Adobe Stock
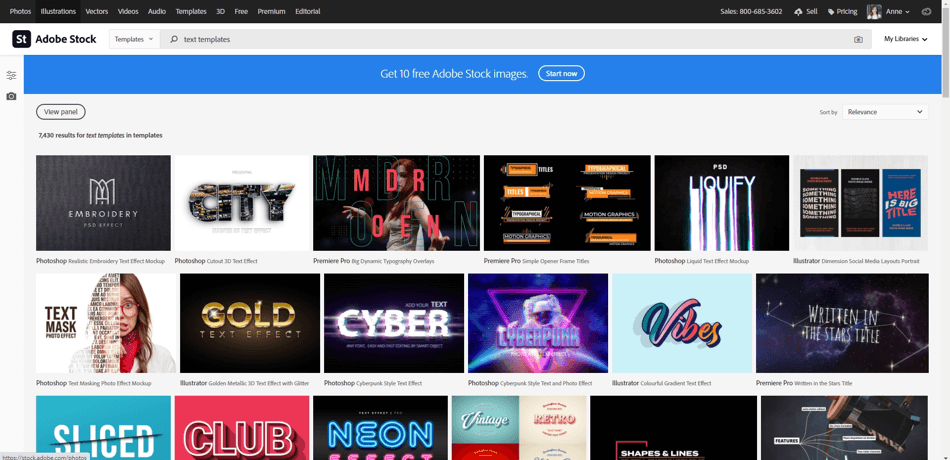
To get boosted text templates, get to Adobe Stock. You can search for new ones directly in-app, toggling for both costless and paid templates. Templates can be and so helpful when creating new content on the fly.
To go to the web app straight, go to stock.adobe.com. Here, in addition to templates, you will discover video footage, photos, and more.
Boosted Questions?
If you find yourself getting stuck on a concept that wasn't answered in this article, there are dozens of tutorials and lessons available on Adobe.com in both written and video formats.
You lot tin can also consult the vast community forum or use the conversation feature to directly speak with Adobe professionals.
Enjoyed reading our article? Don't forget to share your thoughts in the comments department down beneath.

Anne is a filmmaker and writer with a passion to bring stories to life. She has created several short films, specializing in stop-motion animation. Anne has over 8 years of filmmaking experience, and she is always fix to share her knowledge with other creators. She started her company Anne Gets Artistic in 2020.
Anne is extremely familiar with many Adobe programs: Photoshop, Illustrator, InDesign, Later Effects, Premiere, and Audition, to name a few. She has also worked with other programs such as Procreate, Canva, iMovie, and Final Cut Pro. She always strives to requite the best software reviews, researching diligently so her readers don't accept to.

How To Edit Essential Graphics Template Font,
Source: https://www.designbuckle.com/how-to-add-and-edit-text-in-premiere-pro/
Posted by: scotttheatione.blogspot.com
0 Response to "How To Edit Essential Graphics Template Font"
Post a Comment